A bathroom renovation doesn’t have to be a stressful project. With the right preparation and approach, you can transform your bathroom step by step into a modern, functional space that you’ll enjoy every day. In this comprehensive bathroom renovation checklist, we guide you through the entire process—from the initial plans to the final finishing touches.
Whether you choose to do it yourself or hire a professional, this guide will help you work through all the key steps. This way, you can avoid costly mistakes and ensure your bathroom renovation project goes smoothly.
Step 1: Define your goals and style for the bathroom renovation
Before starting your bathroom renovation, it’s important to be clear about what you want to achieve. Are you looking for a simple refresh or a complete transformation? This decision will largely determine your budget, timeline, and scope of work.
Different levels of bathroom renovation:
- Minor renovation:Replacement of only the toilet bowl and fixtures
- Moderate renovation:New wall finishes, sink, and toilet
- Complete makeover:Everything included—plumbing, flooring, and ceiling
Also, think about your preferred style. Modern and sleek? Warm and natural? Or perhaps classic and timeless? Create a mood board with inspirational images to clarify your vision. This will also help later when communicating with contractors.
Practical considerations when making a decision:
- Low-maintenance materials save cleaning time
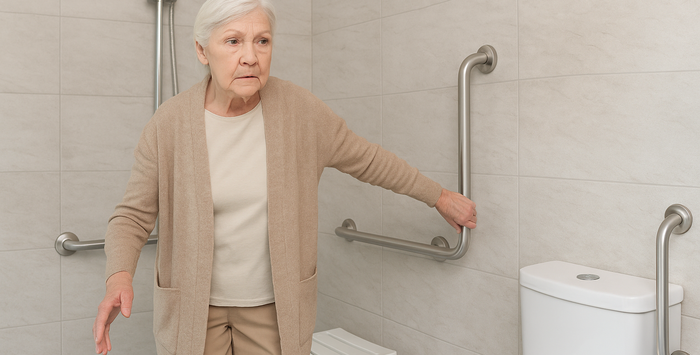
- Think about ergonomics, especially for older users
- Keep available space in mind
- Consider water-saving options
Step 2: Set your budget for the bathroom renovation project
A realistic budget plan helps you avoid unpleasant surprises during yourbathroom renovation.Costs can vary widely depending on your goals and the current condition of the space.
Approximate cost ranges:
- Basic Refresh (€750 – €1,200):New toilet bowl, seat, accessories, and possibly some painting
- Medium-scale renovation (€1,500 – €3,000):Includes new wall finishes, a sink, and basic plumbing work
- Complete renovation (€3,000 – €5,000):Full renovation including a wall-hung toilet, concealed tank, new flooring, and walls
Don’t forget to set aside an extra 10–20% for unforeseen expenses. Older homes, in particular, can have hidden issues with plumbing or structural work. Whether you choose to do it yourself or hire a professional, this guide will help you work through all the key steps. This way, you can avoid costly mistakes and ensure your toilet renovation project goes smoothly.
Step 3: Materials Needed for Your Toilet Renovation
Good preparation is half the battle. Make a complete list of all the materials you’ll need for your bathroom renovation project in advance. This prevents delays and ensures everything is available on time.
Main components:
- Toilet bowl (floor-mounted or wall-hung) with fixtures
- Concealed cistern or traditional flush tank
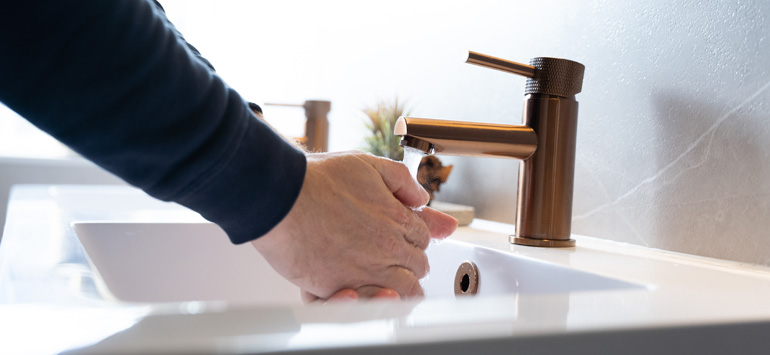
- Washbasin with faucet and siphon
- Drainage and supply pipes
- Wall finish (tiles, panels, or paint)
- Floor finish (tiles, PVC, or laminate)
Supporting materials:
- Tile adhesive, grout, and silicone sealant
- Screws, plugs, and mounting hardware
- Any insulation materials
- Primer and finishing products
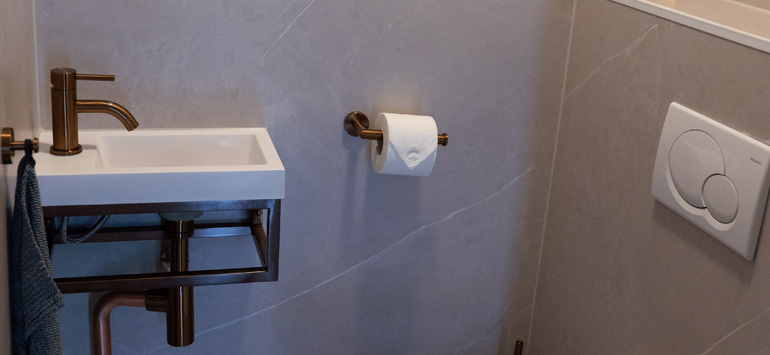
Accessoriessuch as a toilet paper holder and a towel hook
Tips for choosing materials:Choose quality over the lowest price. High-quality materials last longer and are often easier to maintain. For example, wall panels are easier to clean than traditional tiles with many grout lines.
Step 4: What types of specialists might you need for a bathroom renovation?
While you can do some parts of abathroom renovationyourself, certain tasks require professional expertise. It’s important to determine in advance which specialists you’ll need.
Plumber needed for:
- Relocating or installing water and drainage pipes
- Installing Concealed Cisterns
- Connecting New Plumbing Fixtures
- CheckingWater Pressureand Flow
Tiler or finisher for:
- Professional Wall and Floor Finishes
- Waterproofing around critical areas
- Clean grout lines and flawless finishes
Electrician (if needed) for:
- New lighting or fans
- Relocating Switches
- Installing Heating Elements
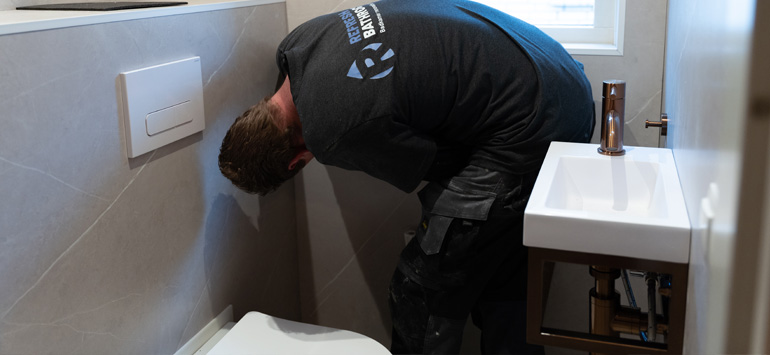
At Refresh Bathrooms, you work with a single, dedicated team that covers all areas of expertise. This means you have a single point of contact and everything is perfectly coordinated.
Step 5: The Correct Order for Your Toilet Renovation Project
A logical workflow prevents rework and ensures an efficient process. Here’s the step-by-step plan used by professional teams.
Preparation phase:
- Measure the space precisely
- Order all materials and ensure they are delivered on time
- Schedule the work and allow enough time
- If necessary, make arrangements for an alternative restroom during the renovation
Step-by-step execution phase:
- Demolition:Turn off the water, remove old plumbing fixtures, tiles, and floor finish
- Rough work:Adjust plumbing, install concealed cisterns
- Walls:Apply a new wall finish (tiles, panels, or plaster)
- Floor:Install the new floor and ensure the joints are waterproof
- Plumbing:Install and connect the new toilet and sink
- Finishing:Seal all joints, install fixtures and lighting
- Check:Test everything for leaks and to ensure it is working properly; clean the area
Practical tips for implementation:
- Start early in the morning to maximize your work time
- Ensure good ventilation while working
- Test the water supply before making the final connections
- Allow for the drying times of adhesives and sealants
Step 6: Key Points to Keep in Mind During Your Bathroom Renovation
There are several factors that are critical to the success of your project. Paying attention to these can help prevent future problems.
Technical aspects:
- Check the wall load capacity for wall-hung toilets
- Ensure sufficient water pressure for all fixtures
- Maintain the correct slope in drainage pipes
- Use water-resistant materials in wet areas
Comfort and ease of use:
- Install the toilet at the correct height (40–45 cm is standard)
- Make sure there is enough legroom
- Place the light switches in convenient locations
- Consider a sink for added hygiene
Maintenance and durability:
- Choose materials that are easy to clean
- Avoid excessive grout lines where dirt can accumulate
- Install proper ventilation to prevent moisture problems
- Use durable materials to ensure longevity
Step 7: Faster and worry-free with a professional bathroom renovation
While it’s possible torenovateyourbathroomyourself, hiring a professional offers significant advantages—especially if you value speed, quality, and a hassle-free experience.
Benefits of professional help:
- One day, instead of a week of work
- Warranty on Materials and Workmanship
- Expert installation with no risk of leaks
- Comprehensive service from consultation to delivery
At Refresh Bathrooms, we can often complete your entirebathroom renovationin just one business day. We use high-quality, low-maintenance materials and employ experienced professionals who know exactly what they’re doing.
Our process in a nutshell:
- Free consultation and a no-obligation quote
- Fixed schedule with clear agreements
- Full implementation by our own team
- Completed immediately, ready to use the same day
Want to learn more about how a one-day bathroom renovation works? Read our detailed article or schedule aconsultationright away.
Step 8: Avoiding Common Mistakes in Bathroom Renovation
Learn from others’ experiences and avoid these common mistakes.
Planning mistakes:
- A schedule that's too tight, with no buffer time
- Ordering materials too late halts progress
- Ignoring the drying times for adhesives and sealants
- Forgetting to arrange an alternative restroom
Technical mistakes:
A common error is incorrect measurements, which can cause parts not to fit. Water pressure tests are sometimes skipped, leading to fixtures that do not function properly. Inadequate waterproofing can cause leaks later on, and failing to account for material expansion can result in cracks or gaps.
Budget mistakes:
Ideal for those who want to stay in control of their renovation. It helps you work step-by-step, understand what’s involved, and decide whether to do it yourself or hire a professional.
When to Use a Bathroom Renovation Checklist
Who this checklist is for:
Ideal for those who want to stay in control of their renovation. It helps you work step-by-step, understand what’s involved, and decide whether to do it yourself or hire a professional.
When to choose professional help:
Doing it yourself can save money but requires time and expertise, and carries the risk of costly mistakes. Professional help costs more but offers peace of mind and often a much faster result. At Refresh Bathrooms, we understand that every situation is different. That’s why we always offer a no-obligationconsultationto find the best solution for your needs.
The choice: Do it yourself or hire a professional?
After working through this bathroom renovation checklist, you’ll have a clear idea of what’s involved. The decision between doing it yourself and hiring a professional depends on your skills, available time, and personal preferences.
Doing it yourself can save money but requires time and expertise, and carries the risk of costly mistakes. Professional help costs more but offers peace of mind and often a much faster result. At Refresh Bathrooms, we understand that every situation is different. That’s why we always offer a no-obligationconsultationto find the best solution for your needs.
Ready to get started?
Whether you choose to do it yourself using this checklist or opt for our one-day professional bathroom renovation, the key is making an informed decision. Do you have questions about your project or want to explore your options?Book a free consultation today. We’re happy to help!